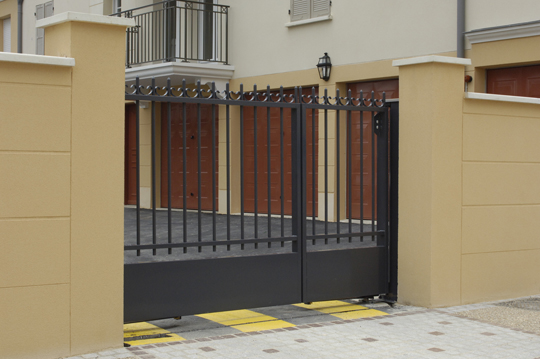
Your garage door may endure quite a bit of wear and tear throughout its lifetime. Fortunately with some DIY spirit, you can replace the damaged garage door panels yourself and extend your garage door’s lifespan. This is most likely a project you’ll want some help with, as the panels may be rather large and unwieldy. Otherwise, replacing garage door panels is fairly straightforward.
Find replacement panels
Each garage door will have different sized panels so make sure you first contact your garage door manufacturer to order the correct style of panels. At this point, you may also want to consider replacing the entire garage door, especially if there’s actual functional damage to the rails or extreme cosmetic blemishes.
Remove the old panels
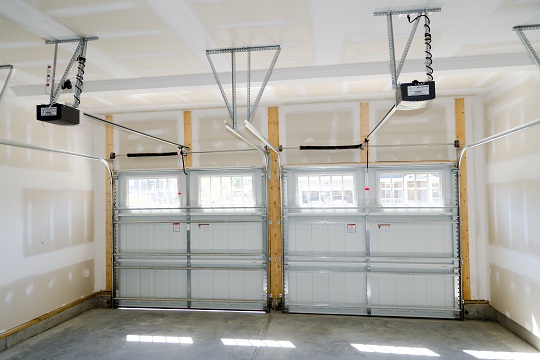
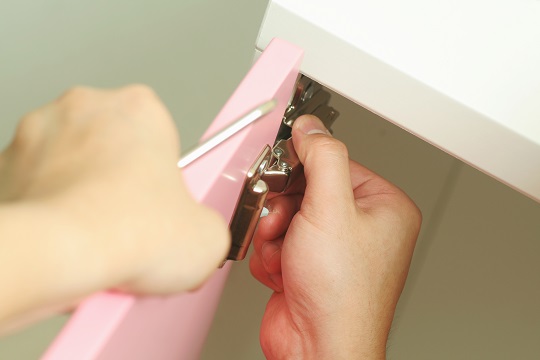
You will want to raise the garage door and disconnect the power to the automatic garage door opener. You will be able to loosen the turnbuckles and tension springs that hold the panels in place; be careful here as the tension springs have quite a bit of stress on them. Unscrew the hinge from each side of the panel that you need to remove until all the damaged panels are removed.
New Panel Installation
You should now be able to slide in each new garage door panel. You will need to insert them into the top of the garage door track and then attach them once they are positioned correctly. Then, you need to reconnect the hinges and the turnbuckles/springs you removed earlier.
Your garage door now should be looking like new! Depending on the color of your garage door, you may want to prime and paint it to match the other panels. If you’re looking for more help or just want to talk to an expert, TalkLocal can connect you to a garage door repair expert in just minutes!

